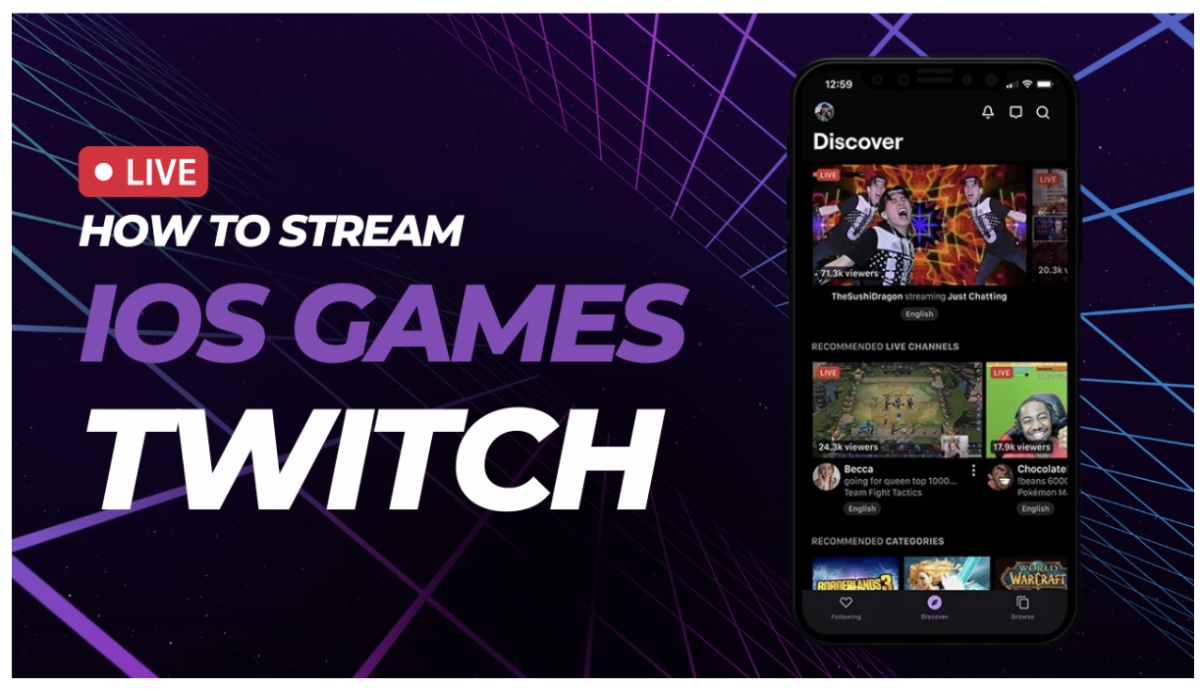
How to stream iOS games on Twitch
Hello, gaming enthusiasts! Everyone enjoys playing games on their Phones but have you ever thought of making a community of your own by streaming and interacting with your fellow iOS gamers?
If this thought has crossed your mind earlier but you’re unsure how to begin, we’ve got you covered. In this article, we’ll break down every step needed for successfully streaming iOS games on Twitch – from preparing your device and setting up the broadcasting software to hitting that “go live” button while ensuring top-notch stream quality throughout. So let’s jump in and learn how to become an iOS game-streaming sensation on Twitch!
Prepare your iOS device to stream
Before you jump onto your first live broadcast on Twitch, make sure that your device has been set up properly to stream. Below are a few steps that one must check before streaming.
- Make sure that your iPhone/iPad is running the latest version of iOS. The latest version would help your device perform better with the latest security updates. You can always head to Settings > General > Software Update to check if you are using the latest iOS version.
- The Internet plays a vital role when it comes to flawless live streaming. You need to ensure that you are getting at least 3-6 Mbps upload speed. This is the minimum requirement from Twitch. You can always evaluate your internet using speed test sites like speedtest.net etc.
With these preparatory measures taken care of, we can now move forward with selecting the ideal third-party app that’ll allow you to effortlessly stream gameplay from an iOS device onto Twitch.
Should you directly stream from Twitch or use third-party applications?
Direct Streaming from Twitch App

-
- If you choose direct streaming on Twitch it limits your customization options – such as layout selection
- The major drawback many users talk about is that it potentially lowers the video quality because it has limitations in encoding within the native app.
- Using a single application is convenient to many users as it simplifies the streaming workflow.
- You might face limitations when it comes to games/apps support to stream.
Streaming using third-party applications
-
- You can adjust the bitrate and resolution according to your internet capabilities and your preferences.
- Third-party applications allow you to choose the overlay of your choice.
- It does not limit the list of games to stream which Twitch does on some devices.
This being said, third-party applications offer you more advanced features to provide a better watching experience for your twitch viewers but it also requires more advanced setup involving configuring settings in both the third-party app and your stream’s dashboard on Twitch.
List of a few recommended third-party applications to stream iOS games
With a variety of options available, it’s essential to pick the right app that aligns with your unique streaming preferences and requirements. Let’s explore some popular choices you can consider when deciding which one is best suited for broadcasting iOS games on Twitch:
Streamlabs Mobile App
A favourite among streamers looking for more personalization options such as overlays and alerts.
Pros:
-
- Tailor your layouts with widgets and overlays
- Seamless integration with Streamlabs’ suite of tools (e.g., alerts)
- Control video quality settings like bitrate and resolution
Omlet Arcade
This reliable third-party application offers additional features crafted specifically for mobile gaming enthusiasts.
Pros:
-
- Broad range of supported games/apps
- Add custom overlays like chat windows or webcam feeds easily
- Multi-platform streaming support (Twitch, YouTube Gaming, Facebook Gaming)
To choose the ideal app for sharing your passion for iOS gaming on Twitch, evaluate each option based on what matters most to you as a streamer – whether it be user-friendliness vs. advanced customization capabilities or prioritizing official support over specific game-focused features.
Setting up your chosen app for streaming
Once you have selected the app that matches your streaming requirements. Now you need to set up your iOS device. Below are the points you must follow.
-
- Log into Twitch: Open your chosen application and sign in using your Twitch account credentials. This step is crucial as it connects the app directly with your channel, ensuring that all streamed content reaches the right destination.
- Grant necessary permissions: Your chosen app will need access to certain functions of your device, such as camera, microphone, and screen recording capabilities. Make sure you allow these permissions so that the app can function smoothly while capturing gameplay footage and audio during broadcasts.
- Personalize stream settings: Tailor various aspects of video quality and performance by adjusting options like bitrate, resolution, and frame rate or selecting appropriate audio sources within the application’s settings menu according to your hardware and internet capabilities.
By configuring these essential elements within your preferred streaming application thoughtfully, you’ll be well-prepared for an enjoyable gaming experience both for yourself as a broadcaster and those watching from home.
Conclusion
As you set out on the exhilarating adventure of broadcasting your cherished iOS games to viewers worldwide, bear in mind that streaming goes beyond merely displaying your talents – it’s about forging connections with fellow gaming enthusiasts and nurturing a welcoming community. Seize this chance to engage in meaningful interactions, establish new bonds, and exchange insights as you delve into various gaming universes side by side.
By adhering to our detailed guide covering app selection and fine-tuning settings for seamless streaming, you’re well-equipped to deliver engaging experiences not only for yourself but also for those who join your Twitch streams.
So don’t hesitate – immerse yourself in the vibrant world of game streaming, let your enthusiasm radiate throughout each broadcast, and remember to relish every moment along the way! Wishing you joyful streaming sessions!


