How To Set A Timer On iPhone Camera
If you want to learn how you can set a timer when taking photos with iPhone’s stock Camera app, then this guide is for you.
Follow the instructions below to set a timer for shooting photos on iPhone.
Step 1. Launch the Camera app.
Step 2. Swipe up on the Camera viewfinder area.
Step 3. Scroll left on the toolbar that appears right below the viewfinder.
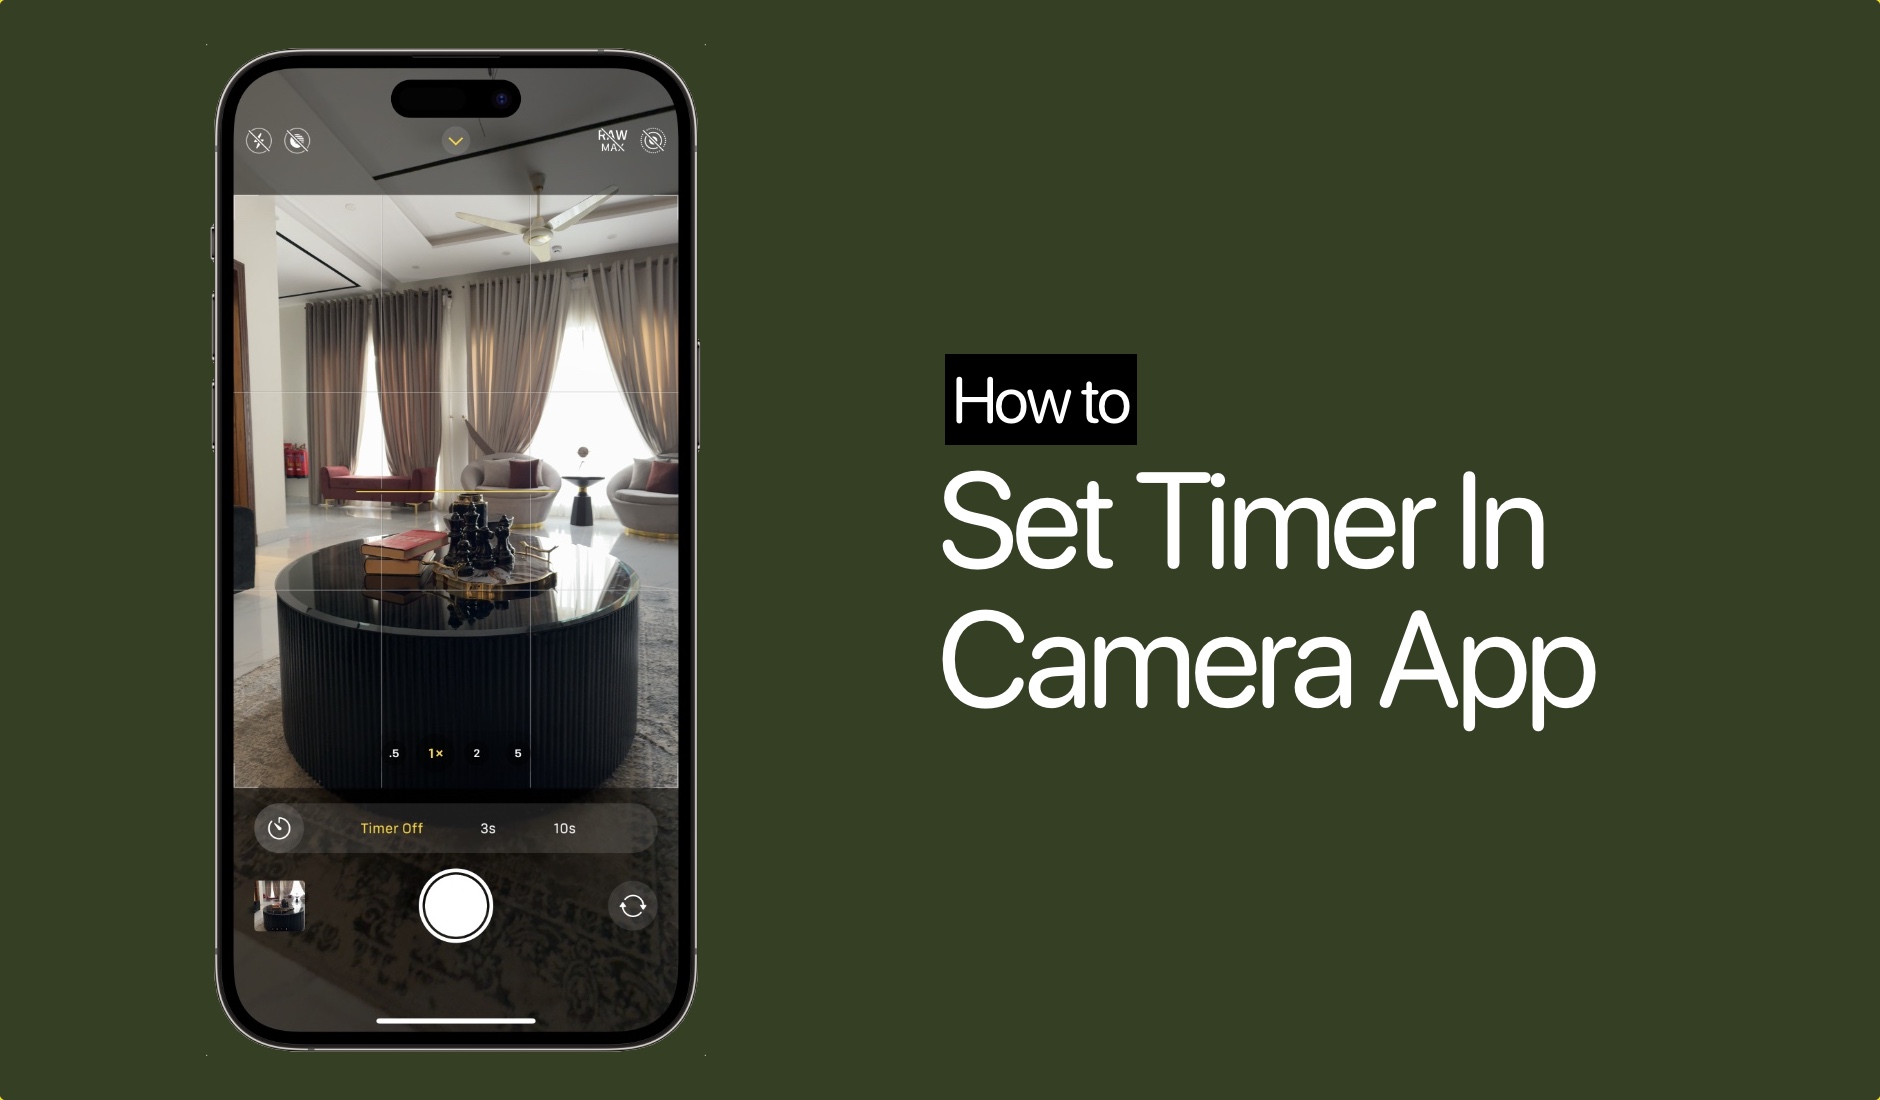
Step 4. Tap on the timer button.
Step 5. Select either 3s for a 3-second timer or 10s for a 10-second timer.
This is how you can turn on the iPhone Camera timer. To turn it off you can follow the same steps and select the ‘Off’ option to turn off the iPhone Camera timer.
The Camera app’s Timer feature comes in handy when you want to take a group photo or if you want to shoot photos with an iPhone tripod. The 10-second option is more useful for taking tripod photos alone or when you want to take a group photo and want to join it.
Disclosure: iOSHacker may receive a commission if you purchase products through our affiliate links. For more visit our privacy policy page.