How To Put Picture Over Another Picture On iPhone Or iPad
In this guide, you will learn how to overlay images on iPhone or iPad.
Are you looking for ways to put picture over another picture on your iOS device? If yes, then you have landed on the right article as that is exactly what we are going to demonstrate for you in this article.
iPhone’s Photos app does not offer a solution for overlaying images for its users. However there are multiple ways to perform this action.
You can overlay pictures on iPhone with the help of the Shortcuts app as well as using popular image editing apps like Snapseed.
Here we will guide you through steps for each of these solutions.
Create image overlays using Shortcuts App (Best Way)
You can follow these steps to create image overlays with the help of the Shortcuts app.
Step 1. Make sure your iPhone has the Shortcuts app installed. If its not installed already download it here.
Step 2. Open Shortcuts app and tap on the ‘+’ button from top right corner.
Step 3. Tap on ‘i’ button from the bottom and turn on the toggle for ‘Show in Share Sheet’. Tap on Done button.
Step 4. Now tap on where it says something like ‘Receive Images and 18 more’ and then make sure only ‘Images’ and ‘Media’ toggles are enabled. Turn off the toggles for rest of the options.
Step 5. Next tap on ‘Add Action’ button and search for ‘Select Photos’. Tap on Select Photos from the search result.
Step 6. Tap on the search bar from the bottom of the page and search for Select Photos once more, and then add Select Photos from the search result.
Step 7. Now that two Select Photos action has been added, tap on the search bar again and search for ‘Overlay Image’ action and tap on it from results.
Step 8. Tap and hold on the blue first ‘Image’ variable that is written next to the ‘Overlay’ in your Overlay action and from the menu tap on Select Variable option.
Step 9. A blue bar will show up at the top of the screen. When it appears tap on the ‘Photos’ app icon located right below the first Select Photos action.
Step 10. Now tap and hold on the second ‘Photos’ variable on the Overlay action, and tap on Select Variable option.
Step 11. When blue bar appears on top, make sure you tap on the second Photos app icon located right below the second Select Photos action.
Step 12. Next tap on the search bar from bottom and search for ‘Save to Photo Album’ and add this action from the search results.
Step 13. Finally rename your action by clicking on the arrow at the top and save your action by tapping on the ‘Done’ button.
That’s it! Now you can run the Shortcut you just created to put image over another image without using any third-party app. You can run this shortcut directly from the Sharesheet within the Photos app or through the Shortcuts app.
Want to save time? You can download the shortcut we have created above here: Download Image Overlay Shortcut
Using the Image Overlay Shortcut:
Using the Image Overlay Shortcut to put picture over another picture on iPhone is very easy. When you run the shortcut you have to select the first image, which is used as the base layer for the image overlay. Once that is selected the shortcut prompts you to select that image that you want to overlay over the first image.
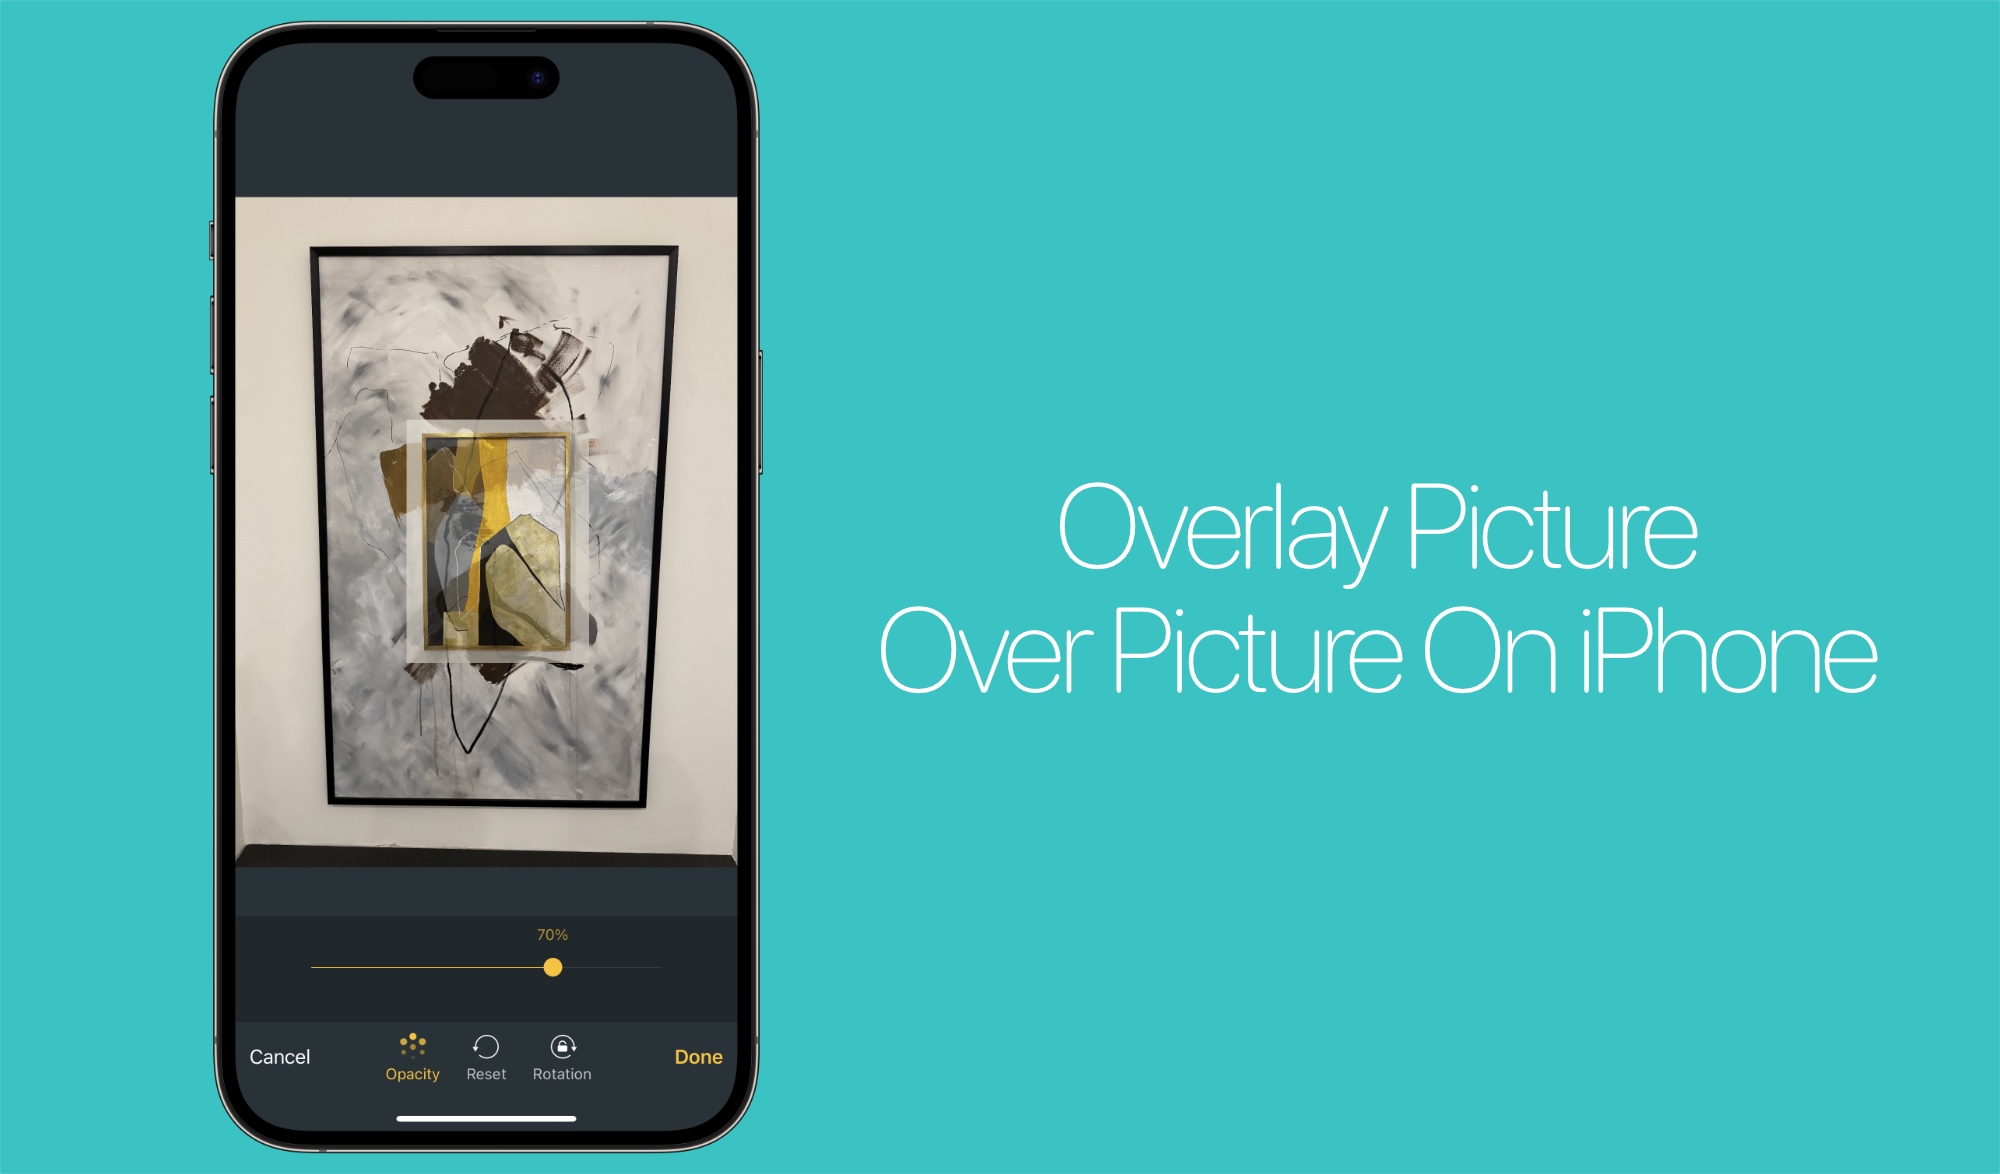
On the editing page you can adjust the size of the image overlay using pinch to zoom gesture, rotate the image, and even adjust the opacity of the overlaid image according to your liking.
Create image overlays on iPhone using Snapseed App (Double Exposure)
You can use the third-party Snapseed app to put image over another image on iPhone with double exposure. Just follow the steps below.
Step 1. Launch the Snapseed app (download it for free here).
Step 2. Now tap on the ‘+’ button and allow access to your images. After this your image gallery will appear on the app. Select the first image that you want to be on the bottom layer of your image overlay.
Step 3. Next tap on ‘Tools’ and tap on ‘Double Exposure’ option from the menu.
Step 4. Tap on the Add Image button located on the bottom bar and select the image that you want to overlay.
Step 5. Using pinch to zoom out gesture make the image overlay smaller or bigger according to your preference.
Step 6. Adjust the Opacity of the image by tapping on the drop like button from the bottom menu. Move the slider left or right to adjust opacity.
Step 7. Finally tap on the tick button and then on ‘Export’ to save the image.
There you have it folks, this is how you can overlay images on iPhone and put pictures over pictures on iPad.
If you found this guide to be helpful, then don’t forget to share it with family and friends.
Disclosure: iOSHacker may receive a commission if you purchase products through our affiliate links. For more visit our privacy policy page.